
3. Bruker TruLive3D Lux-Bundle overview
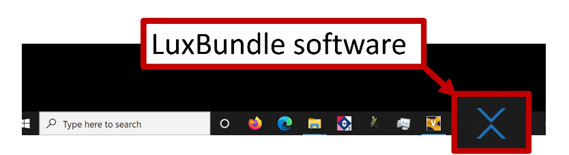
- Once the microscope, cameras and temperature controller and gas mixer are on it is time to open the LuxBundle software. Find the Luxendo logo on the taskbar and click on it.
If you are using the temperature controller the water bath in the chamber will heat up and create condensation on the lid which would then drip on your sample. The lid heating should turn on automatically but always check that it is ON.

The illumination panel has the 4 different laser lines and the LED option. The beam intensity can be controlled between 10% or 90%. The beam expander controls the NA of the illumination objectives. This will have an effect on the characteristics of the Light Sheet.

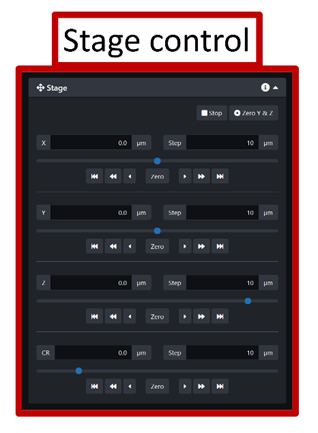
The Stage panel allows you to control the translation stages, the focus of the detection objective and it correction ring.
The detection panel is where you will set the emission filters for the different channels (short wavelengths and long wavelengths). You can also change the magnification there and the dichroic switch between the two cameras. There is also an option for the ablation dichroic switch in case you are planning to use the photo-manipulation feature.

The TAG lens panel allows you to enable the TAG lens function which makes the light sheet longer.

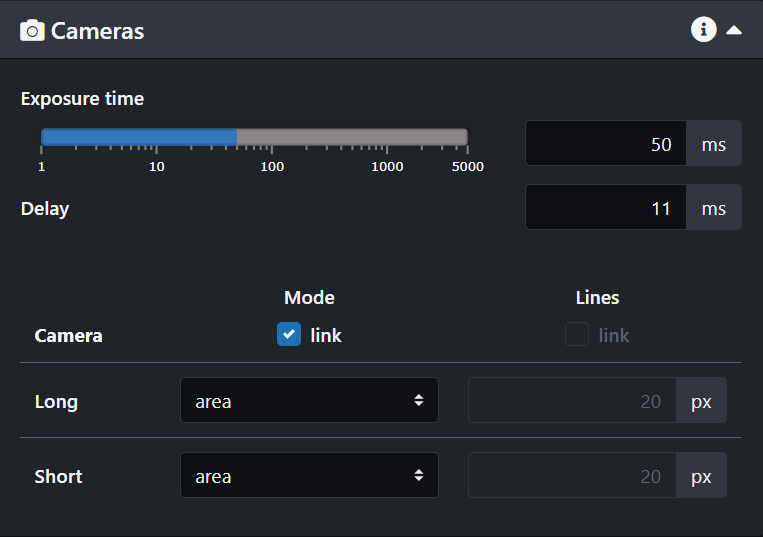
The camera panel is where you can control the cameras, their exposure time and delay. You can switch between line and area mode. In Line mode you can use a delay of 1ms but in area mode you should always have at least 11ms.
You can also unlink the cameras there and turn one off if you need.
Last we have the PM panel that has the photo-manipulation functions. You will learn more about this in a later page.

No Comments