
1. Bruker TruLive3D start-up procedure
a. Turn on the microscope
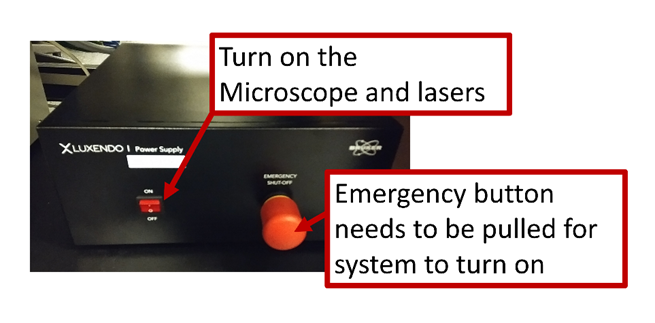
In case of emergency, push the big red button: it turns off the entire system. When you turn it back on, turn it counter clockwise until it is pulled all the way.
b. Turn on the two cameras

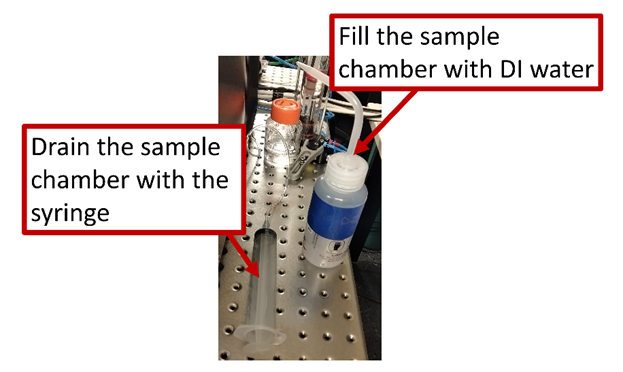
c. Fill the sample chamber with DI water using the squeezy bottle. You should submerge the illumination objective. If you happen to pour too much water, use the syringe to drain the excess out. Always use the syringe to drain water only, do not re-inject water inside the chamber. Use the bottle of DI water to add water. If you accidentally really poured too much water and need to empty the syringe in the DI waste becher, make sure you hold the pipe above the sample chamber level when you disconnect the syringe so it doesn’t drip all over. It is typically easier to do that with a colleague to help!
d. Turn on the chiller at least 2 hours before imaging if you need a controlled environment.

You can choose between Learn Mode or Normal Mode. The PV value is the temperature of the Peltier module and the SV value the set value of the temperature required inside the sample chamber. You will typically put the SV value at 37C.
Below is a list of the abbreviations used: In Learn Mode the temperature will continually adjust based on the reading of the temperature probe inside the chamber. While this will keep the water bath at a constant temperature, the temperature inside the pipes may change significantly depending on the room temperature changes. This may affect the beam alignment and have repercussions on the imaging.
In Normal mode, the PV value is set such that the temperature reading inside the sample chamber is 37C.
The temperature readout inside the sample chamber is given by PV#2. The temperature inside the chiller tank is given by PV#1.
In Learn mode, the temperature inside the chiller (PV#1) is adjusted based on the feedback from the probe in the sample chamber (PV#2) to reach the desired temperature (SV).
To switch between PV#1 and PV#2 values, press the down arrow key.
In Normal mode, the temperature inside the chiller tank (PV#1) is adjusted to get the desired SV temperature inside the sample chamber. To adjust the set temperature press SEL once, use the arrow keys to change the value and press Ret. Typically this will be a PV#1 value of 42-43C.
If you want to switch between Normal and Learn mode press SEL twice, use the arrow keys to change the mode and press Ret.
Before starting an experiment check that the temperature inside the sample chamber is matching the set temperature (SV).
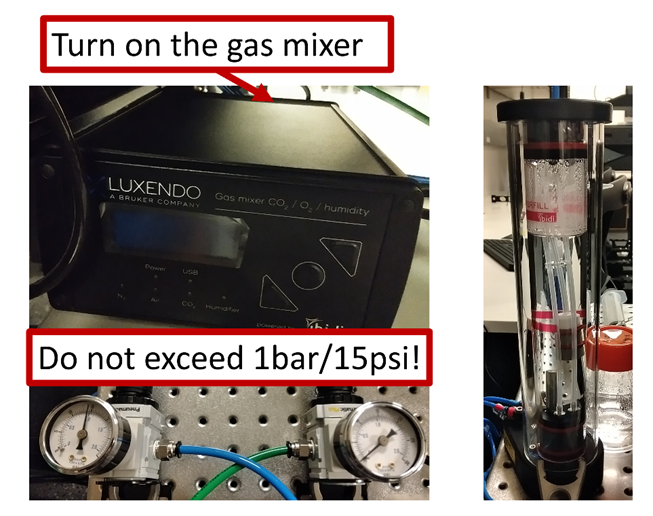
e. Turn on the gas mixer. The switch is in the back of the controller. Then turn on the CO2 valve on the gas bottle and make sure you do not exceed 1 bar or 15psi. If the water is low in the gas mixer chamber top up with sterile DI water only.
f. Turn on the computer. The password is luxendo. If the screen is off, use the remote to turn it on.
No Comments