
Getting started with Imaris
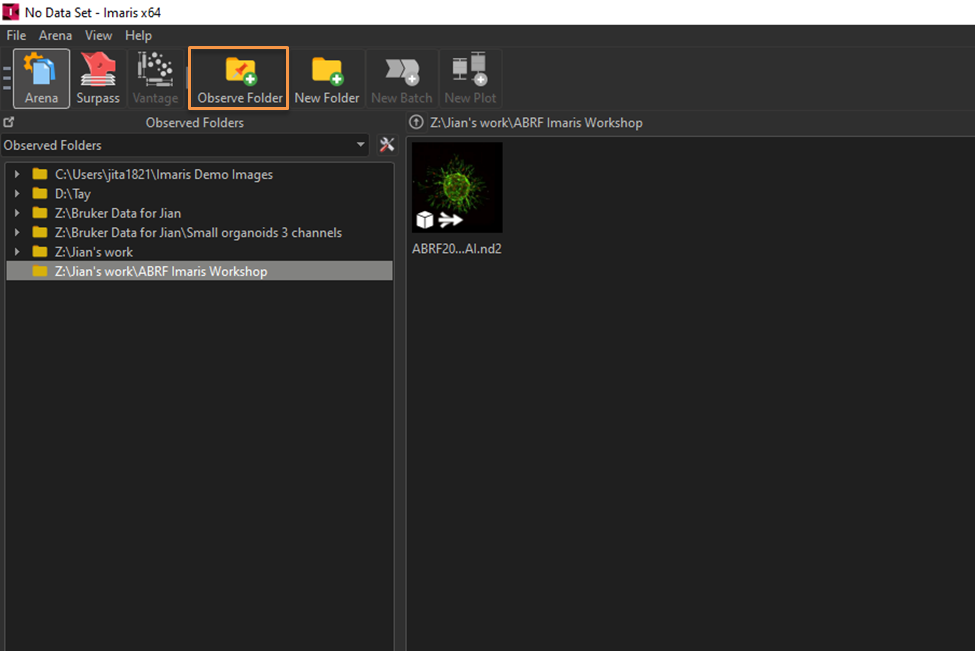
To load an image in Imaris
- Make sure you are in the Arena view (see above).
- Click on Observe Folder, then select the folder with your images in the dialog box that pops up.
- If you have not opened the file before, the file will likely have an ND2 extension. Double-click on the file to convert the image into the native Imaris format (IMS).
- The Global Queues panel on the bottom right will show you the progress of the conversion.
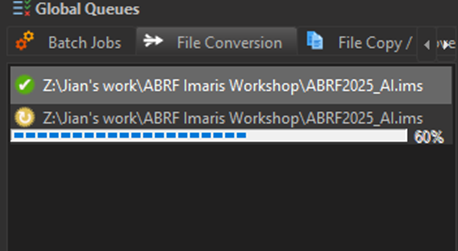
- Once the conversion is complete, double-click the file again to open it in the Surpass view.

Basic controls
To rotate or pan the image:
• Left click + drag will rotate the view
• Right click + drag will translate the image
To reset the view:
• Click on the “Reset” button on the bottom right of the screen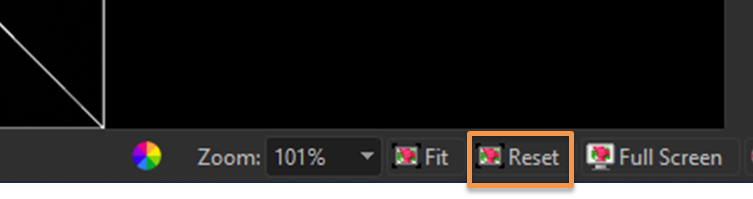
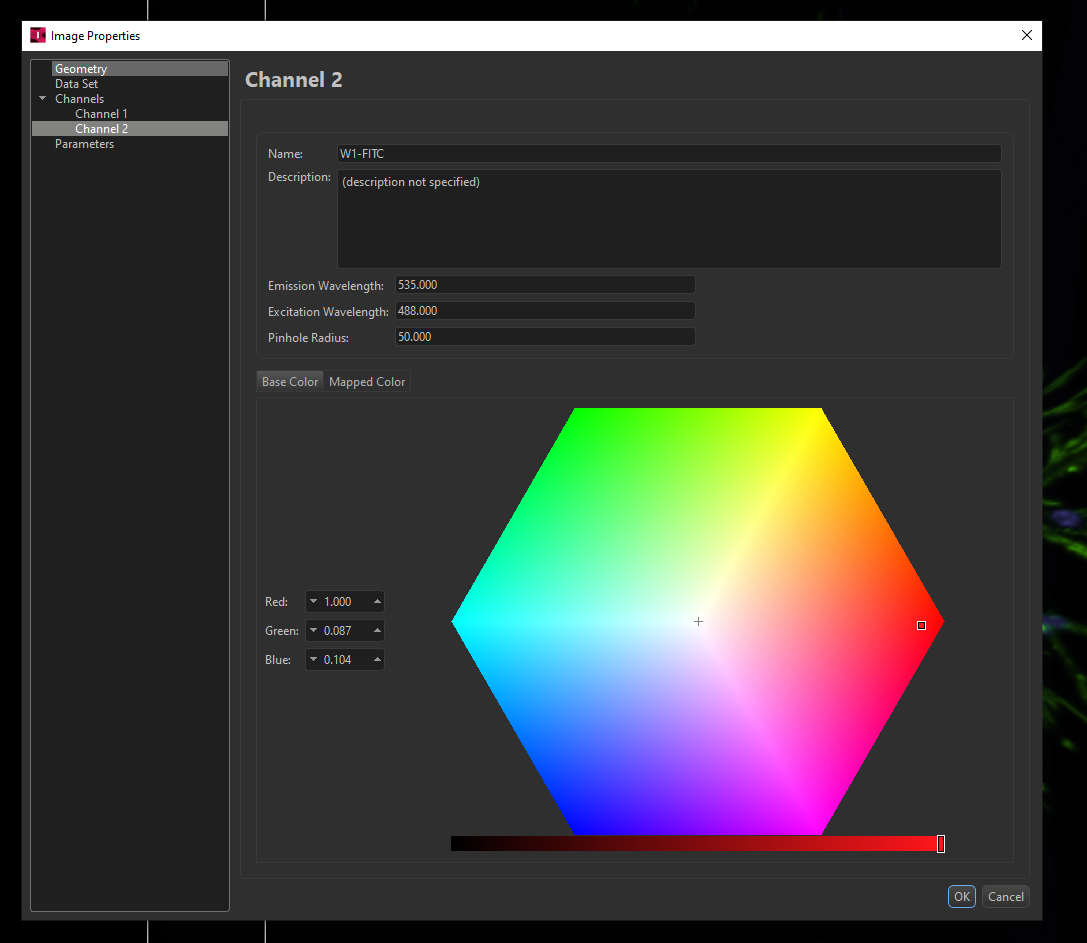
To adjust the display:

- If the Display Adjustment box is hidden, select Edit > Show Display Adjustment.
- To adjust the intensity of the displayed image, click and drag the sliders.
- Check/uncheck the boxes next to each channel to show/hide channels.
- Click on the channel name to open the Image Properties dialog box. You can use this to change colors if desired.
No Comments