
Intensity-based thresholding
This page explains how to use intensity-based thresholding (the traditional method) to segment cells. For this example, we will segment some nuclei which have been labeled with DAPI.
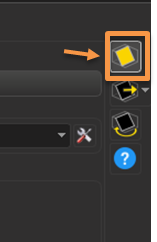
- In the Surpass view, click on the Surfaces icon in the left panel to create a new Surface.

- A wizard dialog box on the bottom left of the screen.

- On this page:
- Unselect Classify Surfaces – classification is used to distinguish between different objects, e.g., different cell types, and we won’t need it here.
- Unselect Object-Object Statistics – these statistics can be used, for example, to filter objects by distance to its nearest neighbors. Disabling these statistics will reduce the computational time and power needed for the segmentation. You can always re-enable this after segmentation.
- Select Start creation with Slicer view.
- Click the blue right arrow to move to the next page.

- The slicer view will display on the image on the right. This is a 2D view of individual slices of the image. The slicer control appears as a yellow ball and arrow at the center of the image. To control the slice:
- Click and drag the ball to move up and down in depth
- Click and drag the arrow to adjust angle
- Right-clicking on arrow will set the angle to perpendicular to the plane of view – you can keep right-clicking to change between the different angles
- Right-clicking anywhere on image will move the control to that position
- To return to a 3D view, unselect the slicer icon on the left panel
- Back to the wizard dialog:

- Set Source Channel to Channel 1 – W1-DAPI.
- Check the Smooth option – Smoothing is generally a good idea to avoid jagged surfaces. The default value for the Surfaces Detail is equivalent to a 2-pixel width, which we’ll use for this example.
- Select Absolute Intensity Thresholding.
- Click on the blue right arrow to move to the next screen.
- The next panel will display an intensity histogram that you can use to adjust the global threshold:

- Move threshold slider to change the segmentation result.
- It is a good idea to check different slices to ensure that the generated surface is accurate.
- Select the Enable checkbox under Split touching objects.
- Change the Seed Points Diameter to the estimate of the nuclei
- Select the Morphological Split option – Imaris will attempt to split touching objects by shape.
- Click on the blue right arrow to move to the next screen.
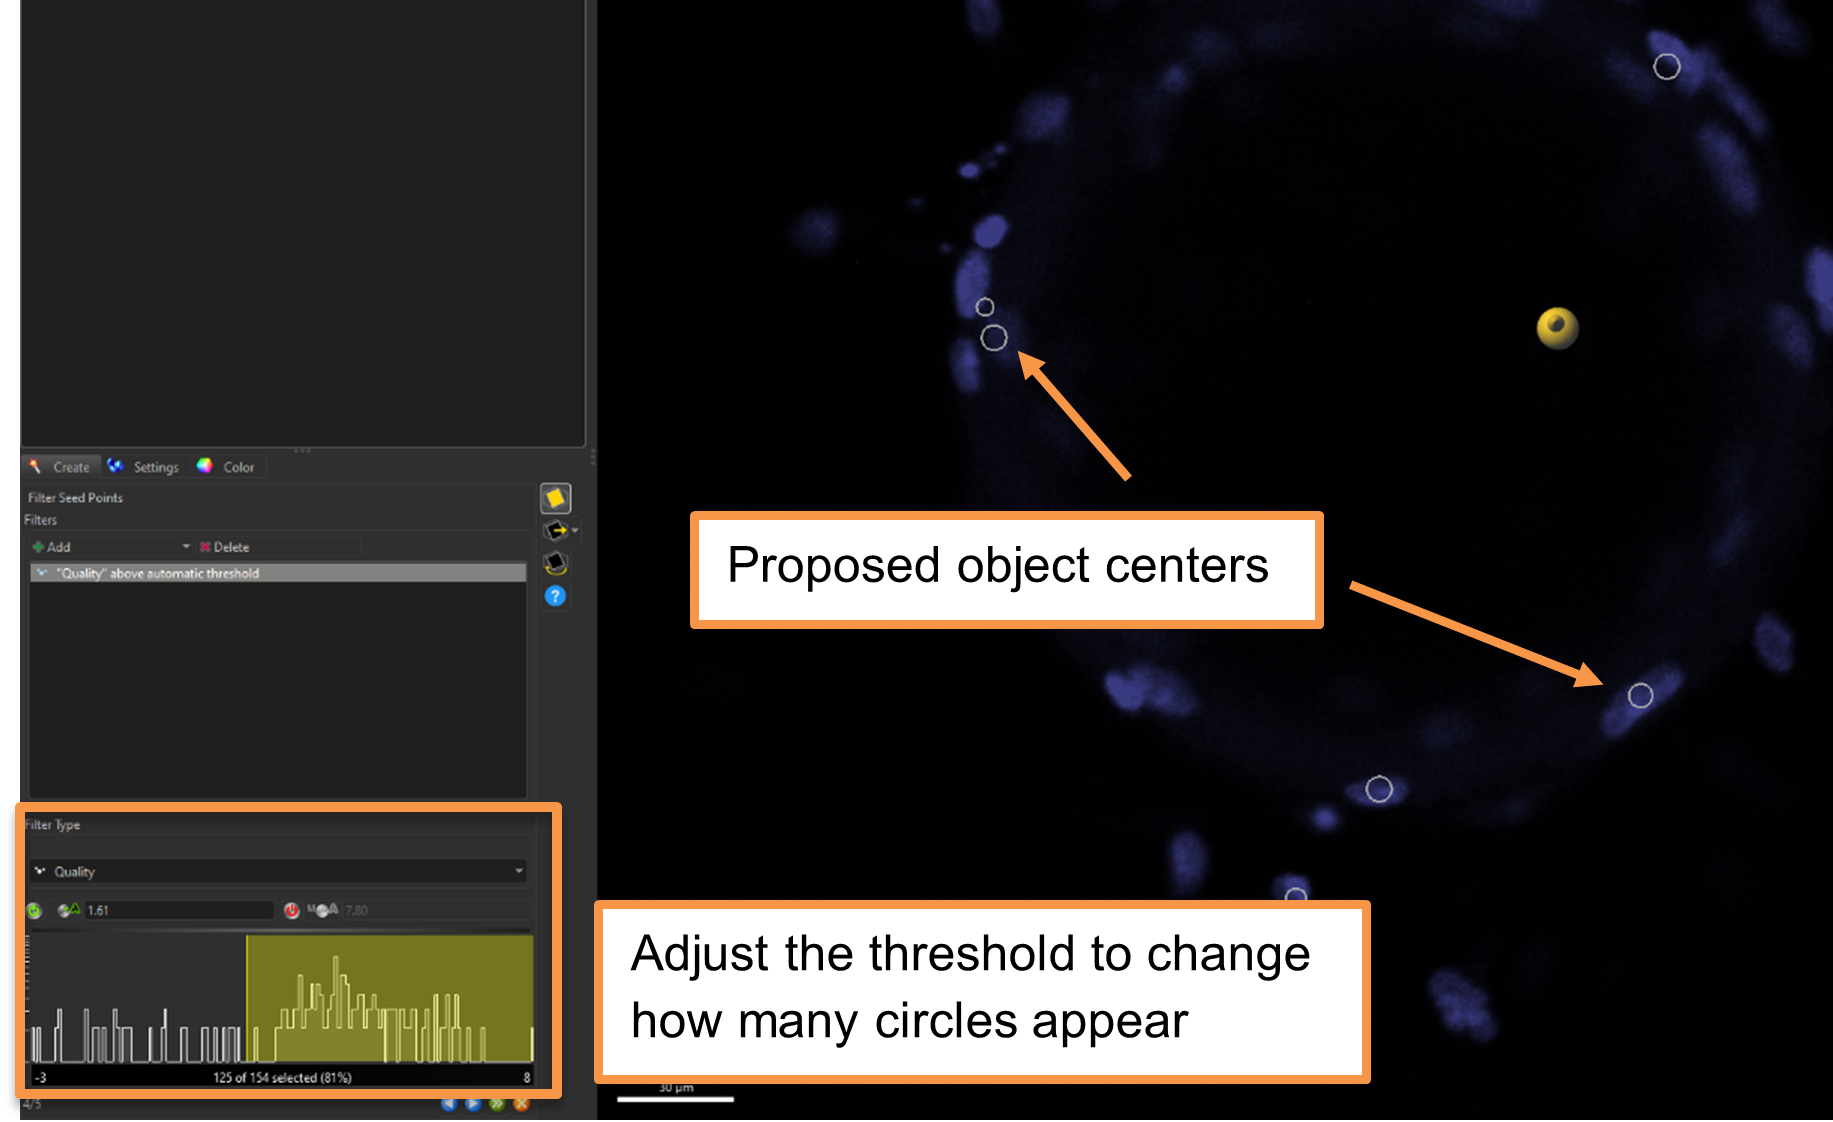
- The next screen shows the proposed centers (white circles) for the object splitting function.

- The panel on the bottom right allows you to change Quality, which affects the number of circles that appear. This metric is a measure of how confident Imaris is that this is an object – lowering the threshold will increase the number of circles, but potentially at the cost of oversegmentation.
- When you are happy, click on the blue right arrow to continue.
- After some computation, the next screen will show the segmented objects. This is the time to check the results, and if need be, go back to the previous steps to adjust.

- The panel on the bottom left allows you to filter the final objects by size, e.g., to filter out small cell debris or large clumped cells that were unable to be separated.
- Finally, click on the green double right arrows to complete the process.
No Comments