
5. Bruker TruLive3D Experiment settings
This page will guide through the steps to set-up a basic experiment.
Make sure you performed the calibration of the system before starting with your sample.
- Finding your sample
- Install the sample in the sample holder and into the sample chamber. Hold it at one end and push the other end against the end of the brackets then press the other end into place.
- You can use the space mouse to move the dish to its position above the detection objective.
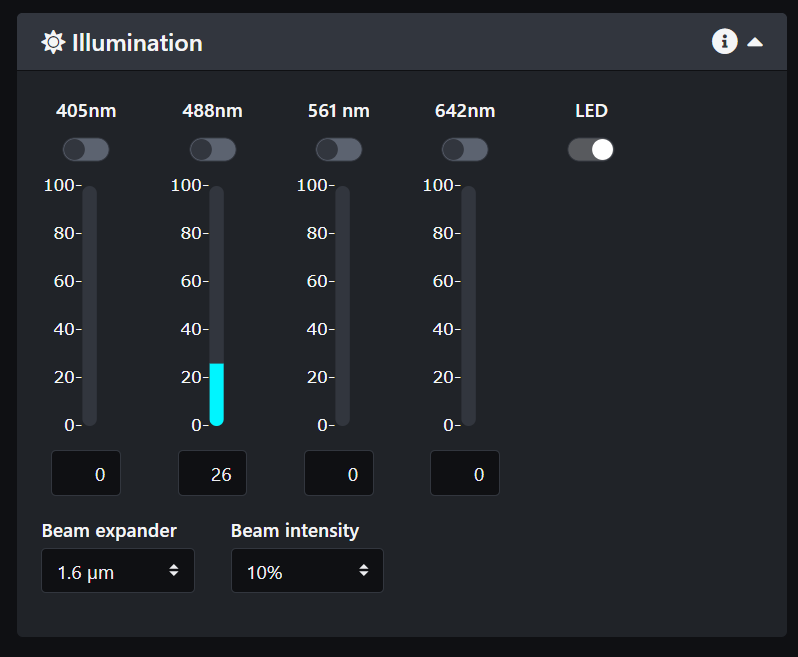
- Click on Dashboard in LuxBundle.
- In the illumination panel, turn on the LED light.
- Open the SpinView software and select the Blackfly camera then click the green arrow. There is a small camera in the system that looks through one of the illumination objectives.
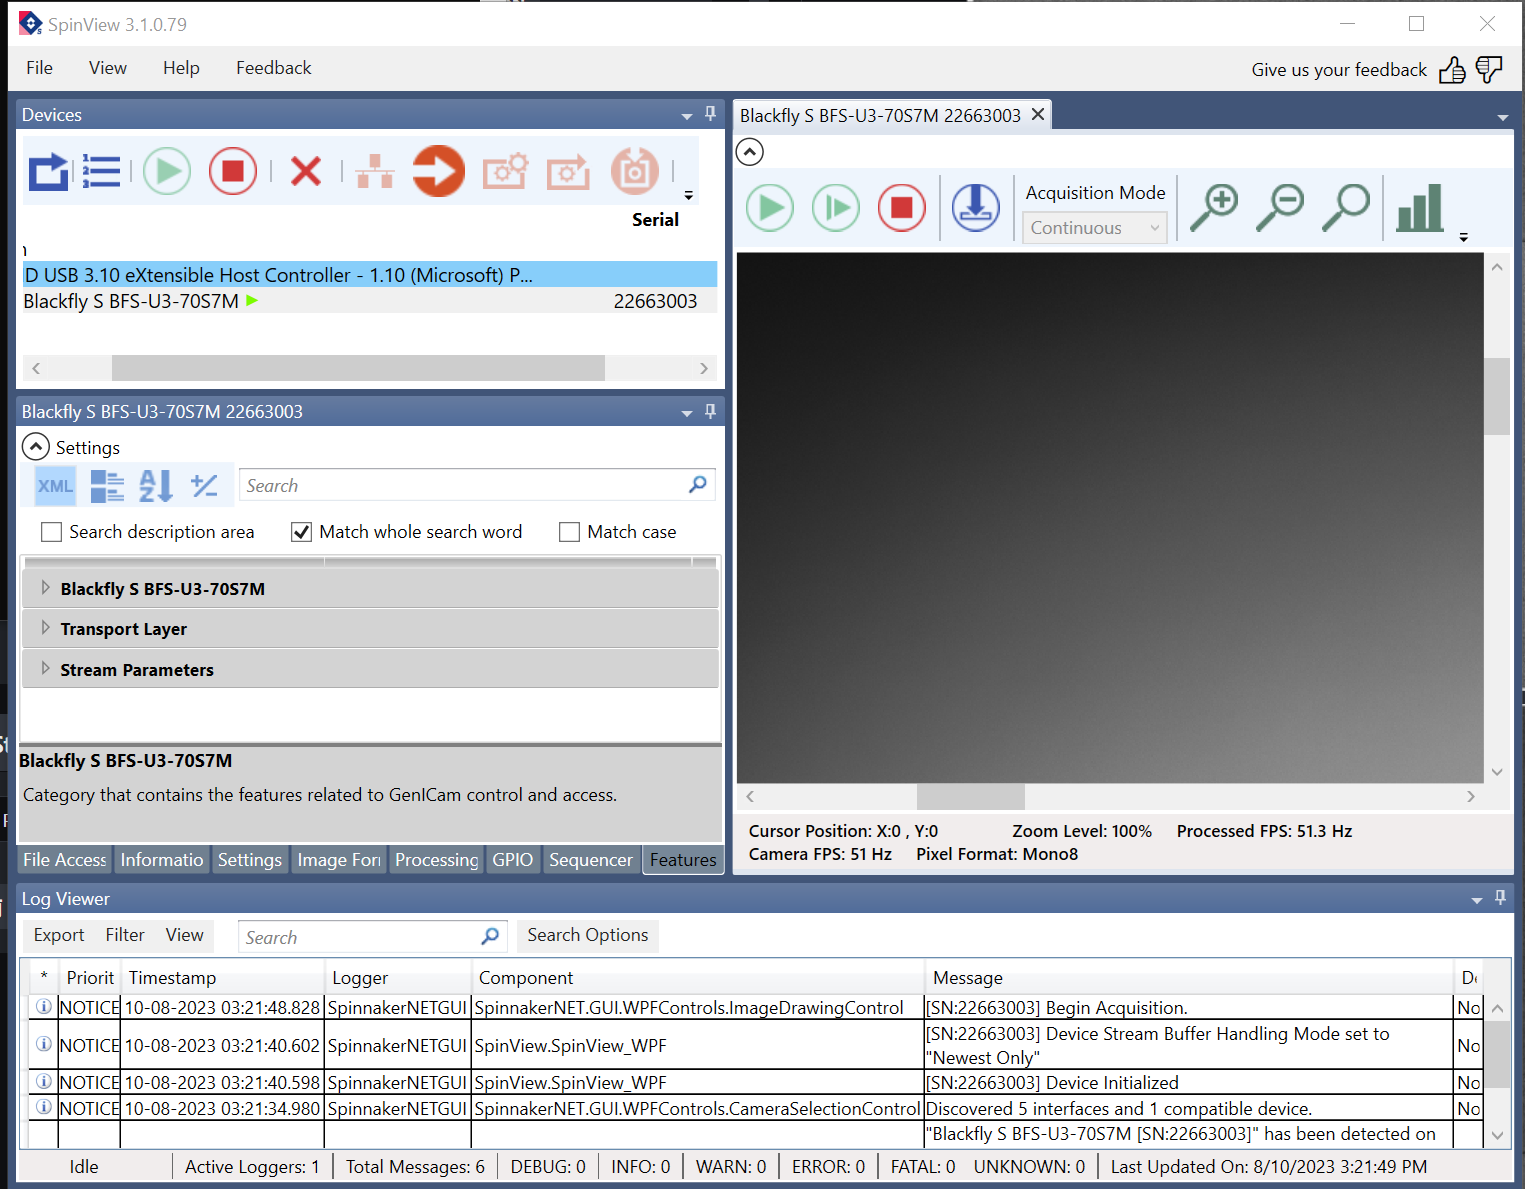
- Click on the image area and scroll out to see the entire field of view
- Go back to LuxBundle and use the stage control buttons to move the sample until it appears in the field of view of the Blackfly camera.
- If your sample is already above the detection objective, move the Z stage to lower it.
- If it is not above the detection objective, move the X stage as well.
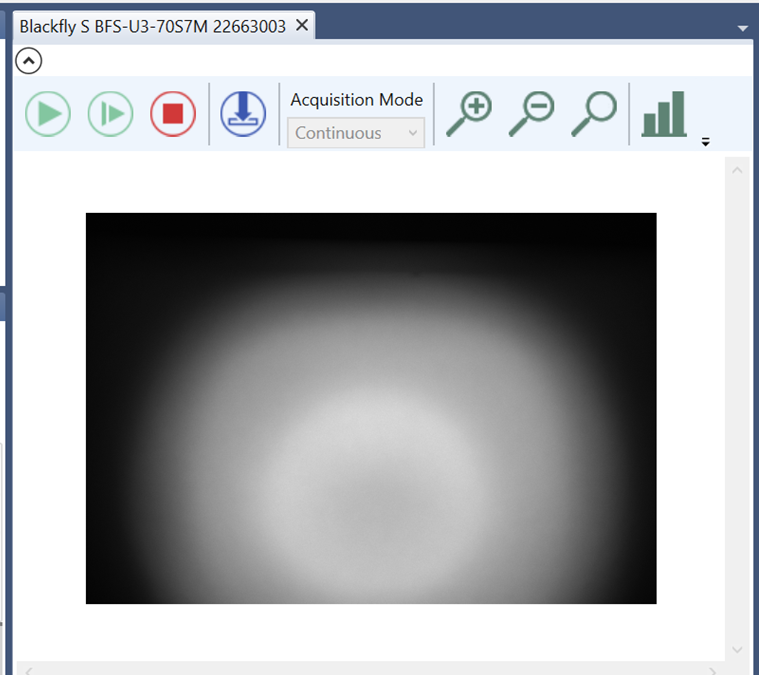
- Move the Y stage to bring it in focus and confirm that what you are looking at looks like what you expect and is not an artifact.

NOTE: This is not the focus of the detection objective! It brings the sample in focus of the illumination objective the Blackfly camera is looking through. This step is for identification only.
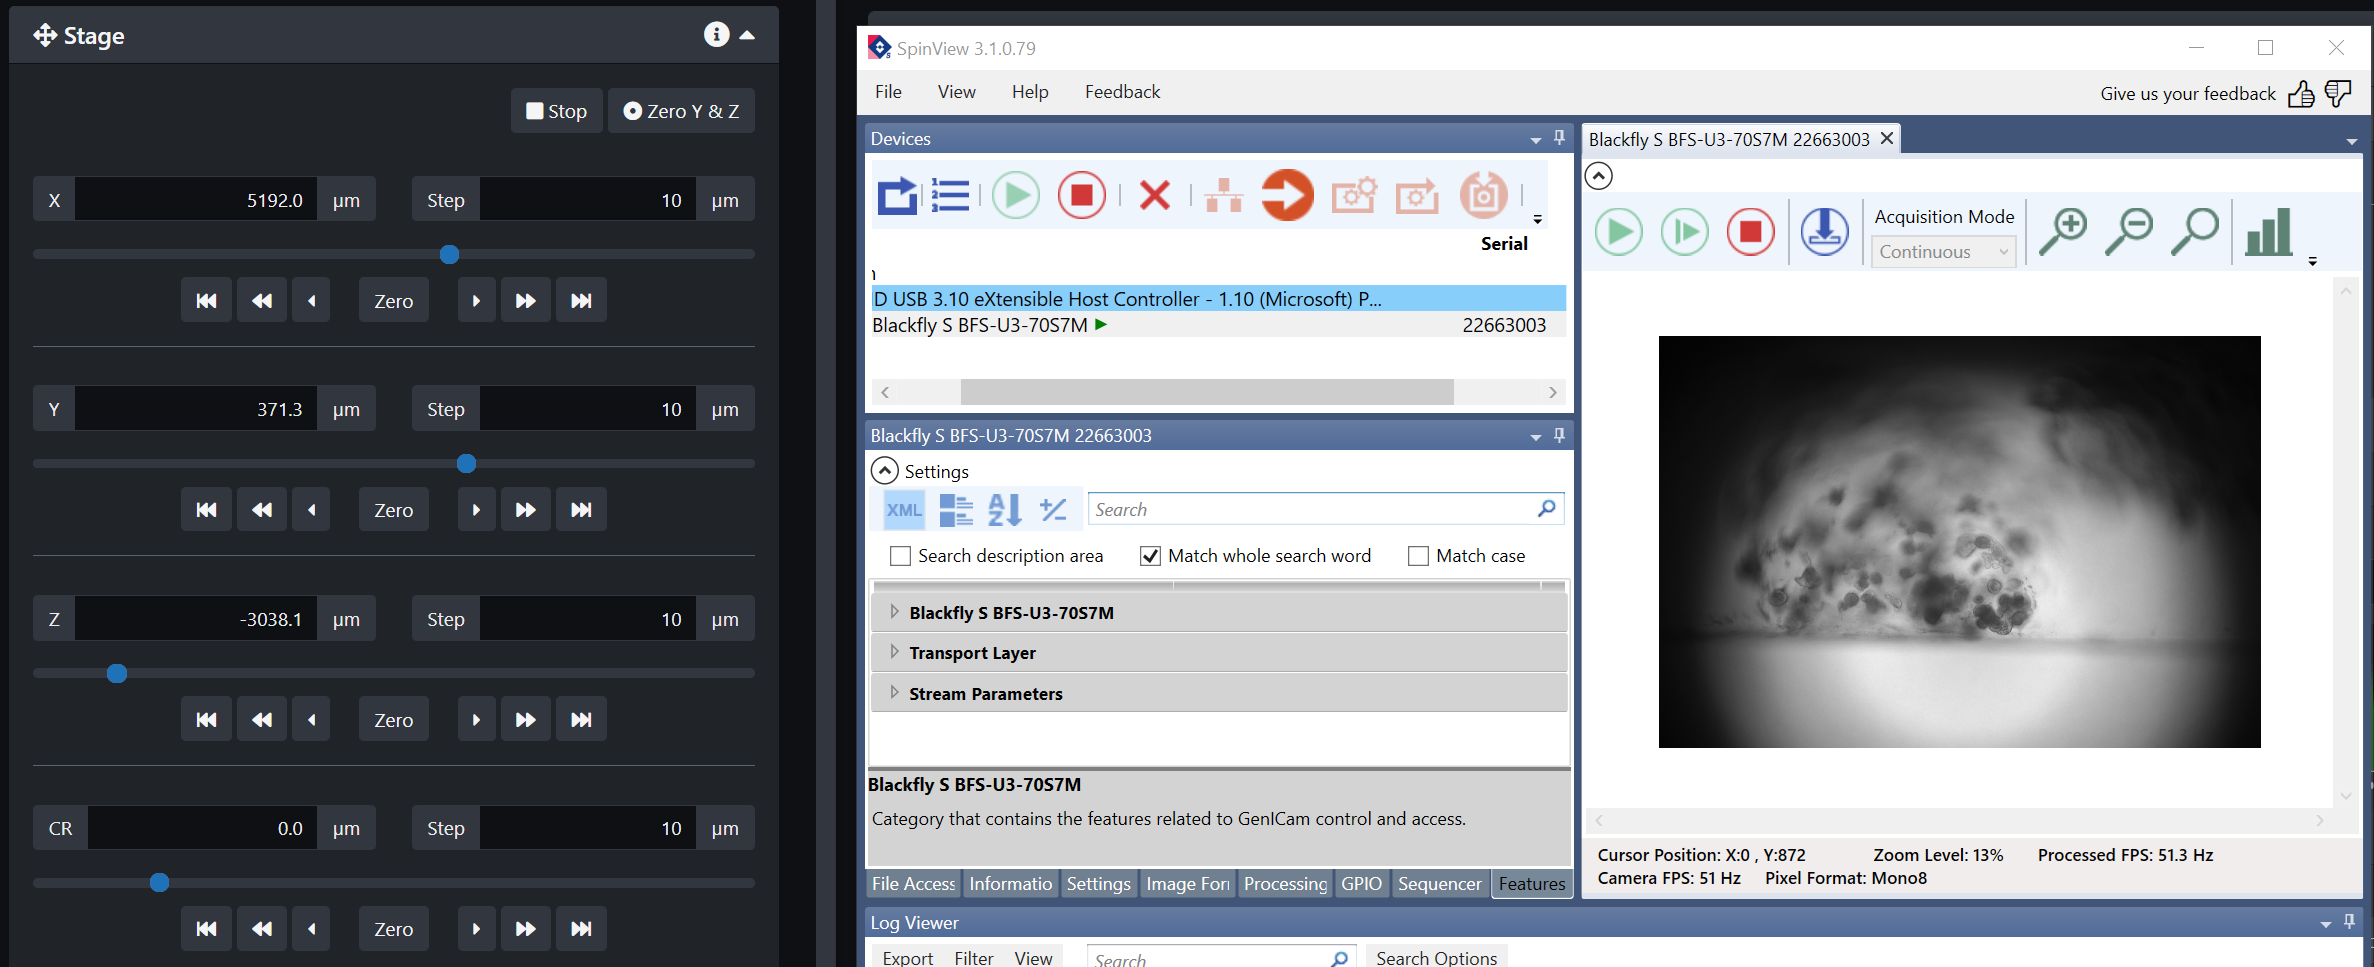
- Now that you know the sample is in the right location, turn off the Blackfly camera by clicking on the red square and turn off the LED light in LuxBundle.
- Select the laser lines you need for your sample.
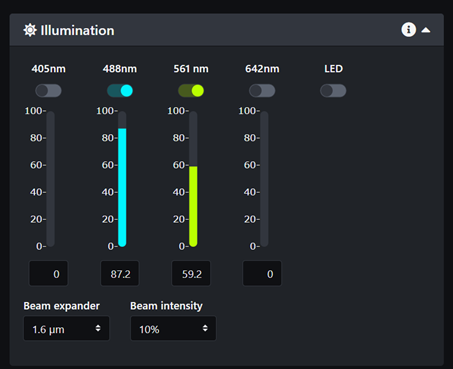
- Select the emission filters for each camera. If you are not sure which filters to select for your sample please refer to page