5. Bruker TruLive3D Finding the sample
Make sure you performed the calibration of the system before lowering your sample in the chamber.
- Finding your sample
- You should have already installed your sample, so the first step is to lower the z stage to bring the sample between the two illumination objectives.
- You can also use the space mouse to move the dish to its position above the detection objective.
- Click on Dashboard in LuxBundle.
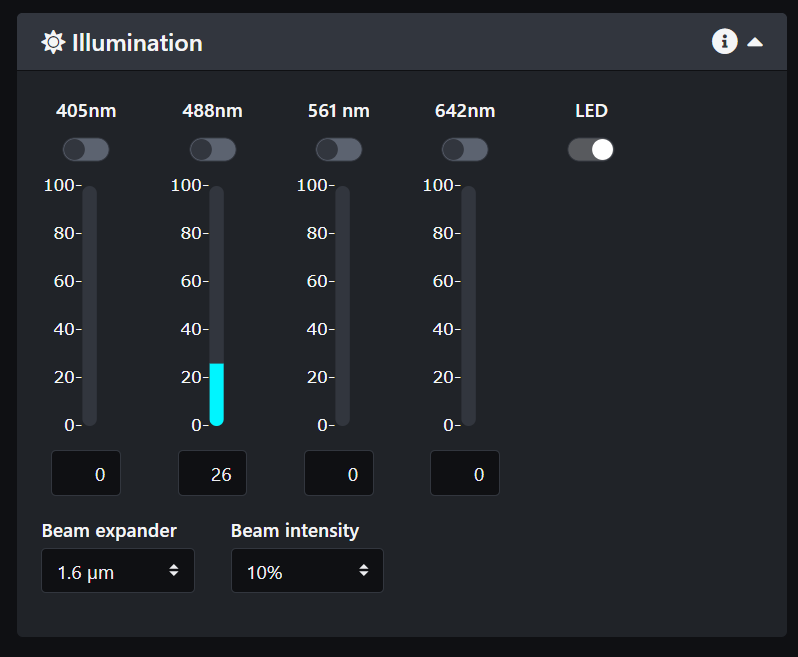
- In the illumination panel, turn on the LED light. Then click Start Live.


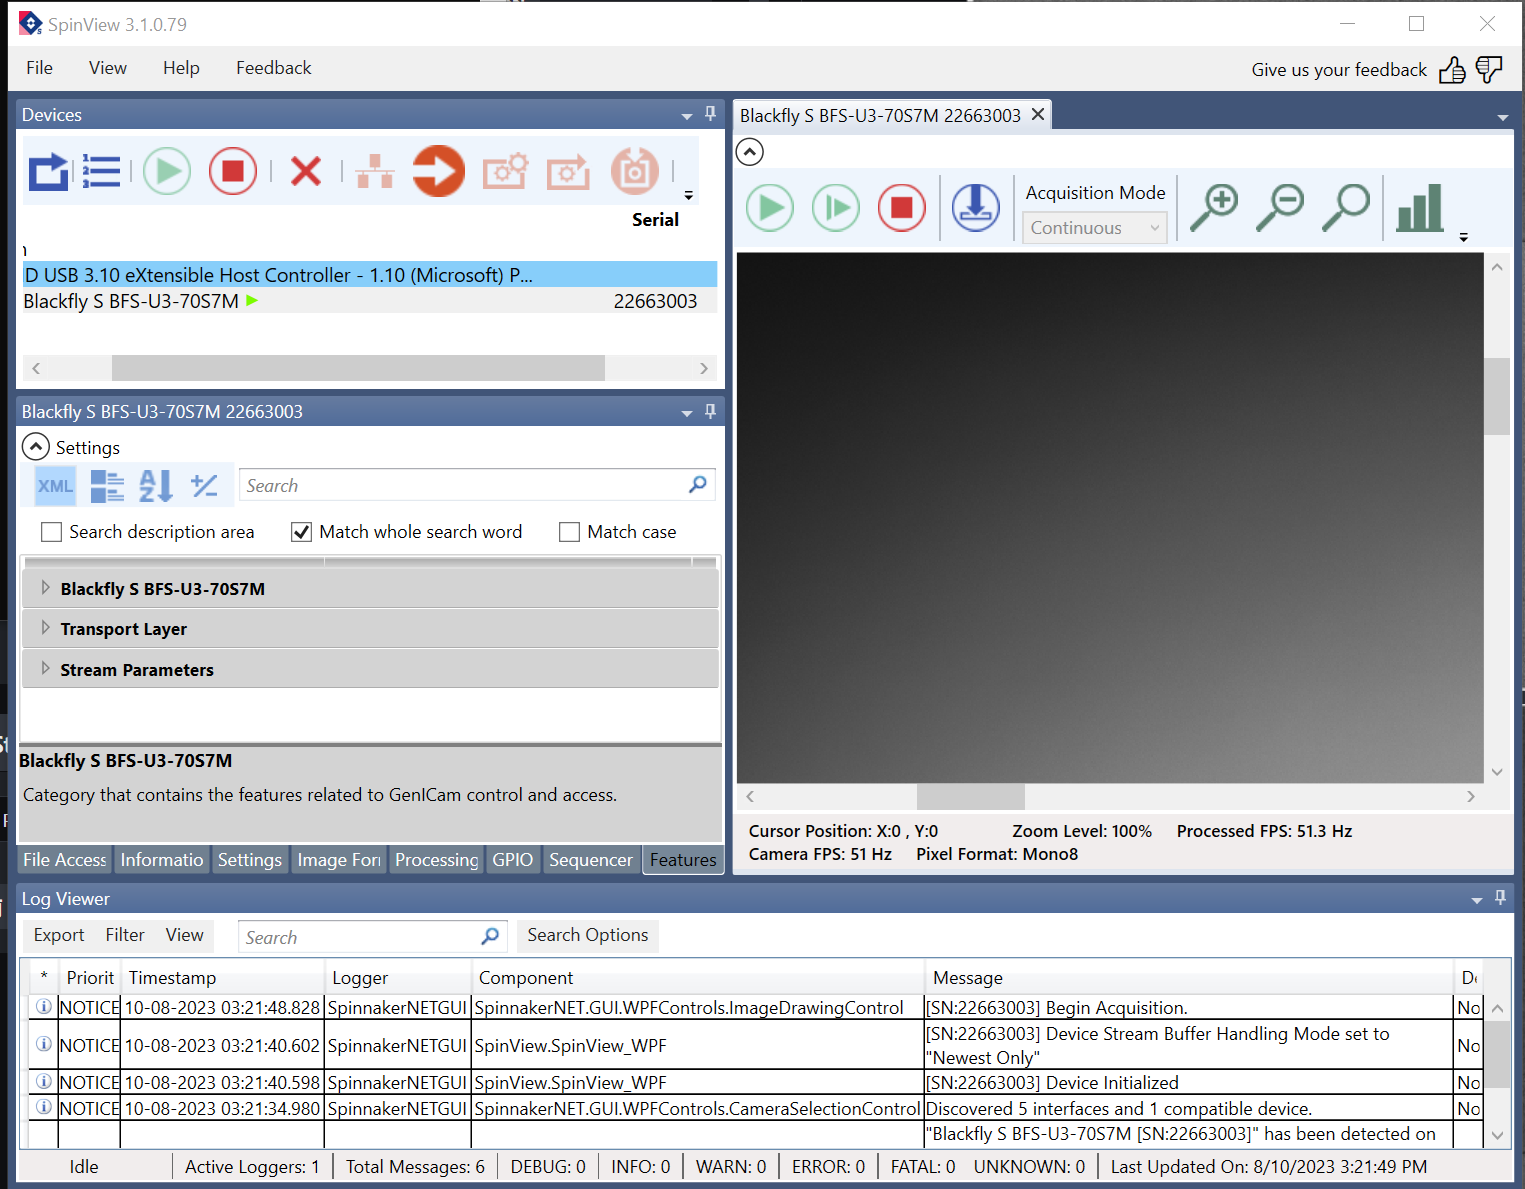
- Open the SpinView software and select the Blackfly camera then click the green arrow. There is a small camera in the system that looks through one of the illumination objectives.

- Click on the image area and scroll out to see the entire field of view

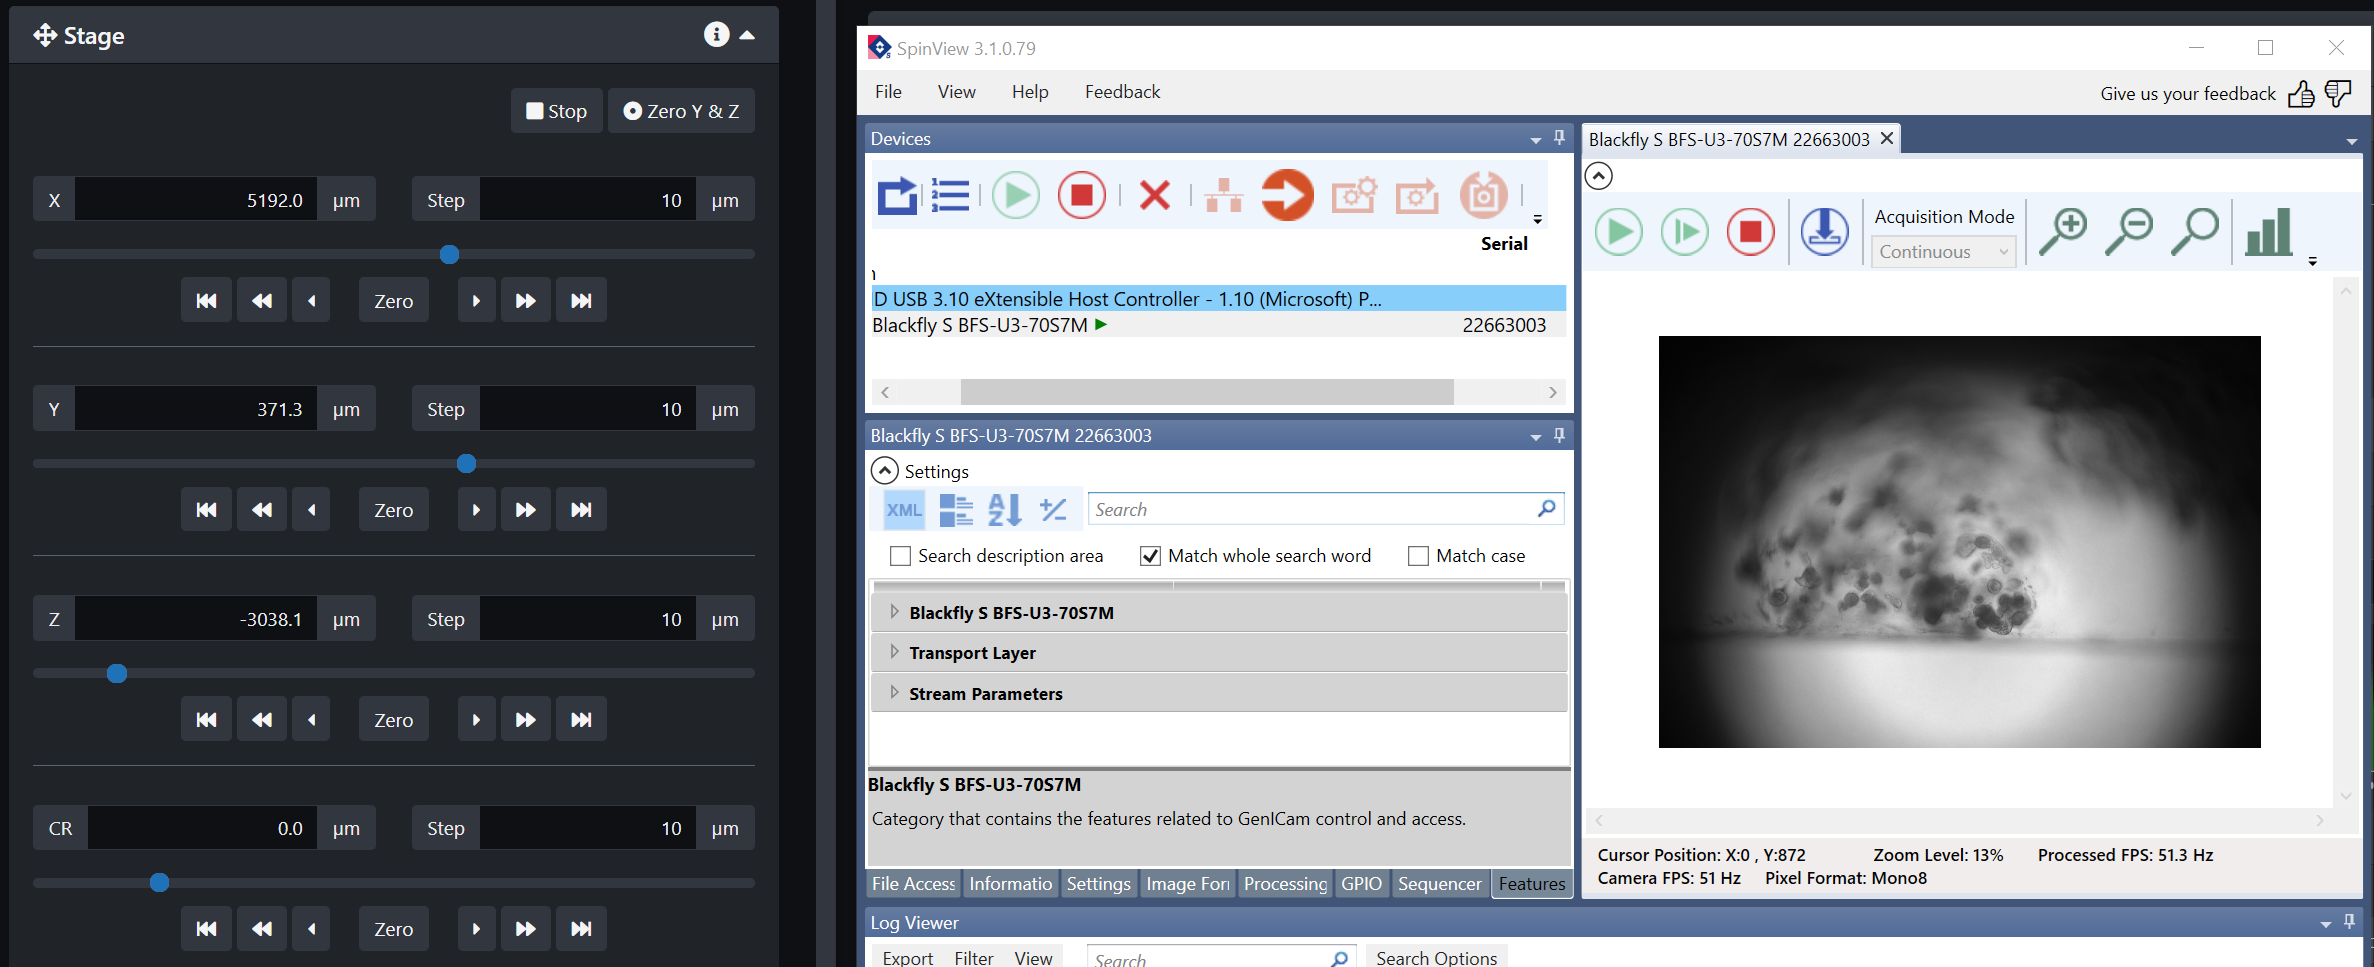
- Go back to LuxBundle and use the stage control buttons to move the sample until it appears in the field of view of the Blackfly camera.
- If your sample is already above the detection objective, move the Z stage to lower it.
- If it is not above the detection objective, move the X stage as well.
- Move the Y stage to bring it in focus and confirm that what you are looking at looks like what you expect and is not an artifact.
NOTE: This is not the focus of the detection objective! It brings the sample in focus for the illumination objective the Blackfly camera is looking through. This step is for identification only.
- Now that you know the sample is in the right location, turn off the Blackfly camera by clicking on the red square and turn off the LED light in LuxBundle.
- Select the laser lines you need for your sample.

- Select the emission filters for each camera. If you are not sure which filters to select for your sample please refer to page Bruker TruLive3D emission filters and fluorophores spectrum and try to pick a pair of filters that prevents any overlap in emission.

- Connect both cameras and start live
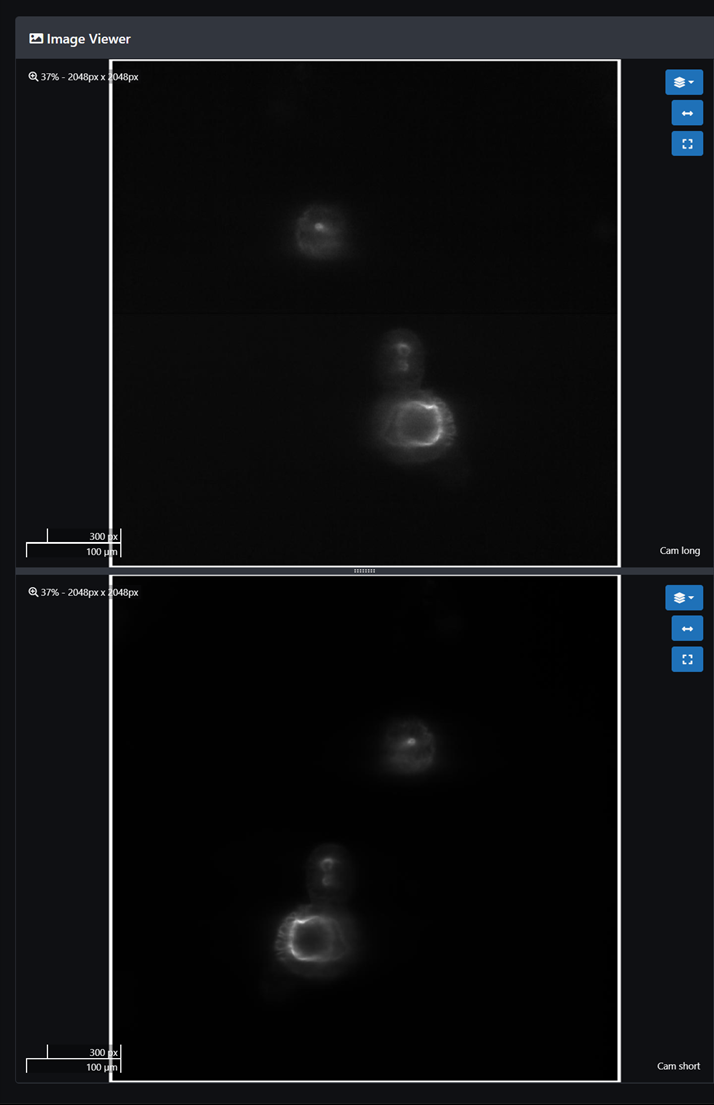
- Adjust the camera exposure and select either line mode or area mode. Line mode rejects more background but for sample finding it is best to use area mode. If you only need one camera, unlink the camera and turn one off.
- Area mode to find the sample
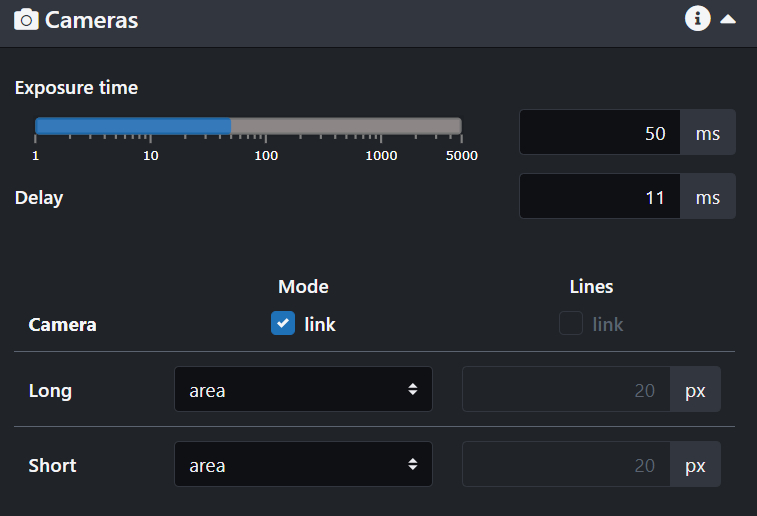
-
- Line mode for imaging

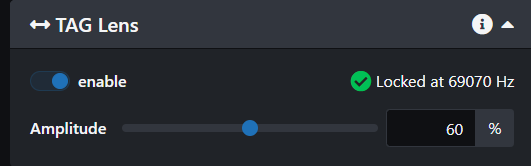
- Turn on the TAG lens for a little better image quality:
- Find a location of interest in the sample using the stage controls. Scroll the z slider to find the limits of your z-stack.

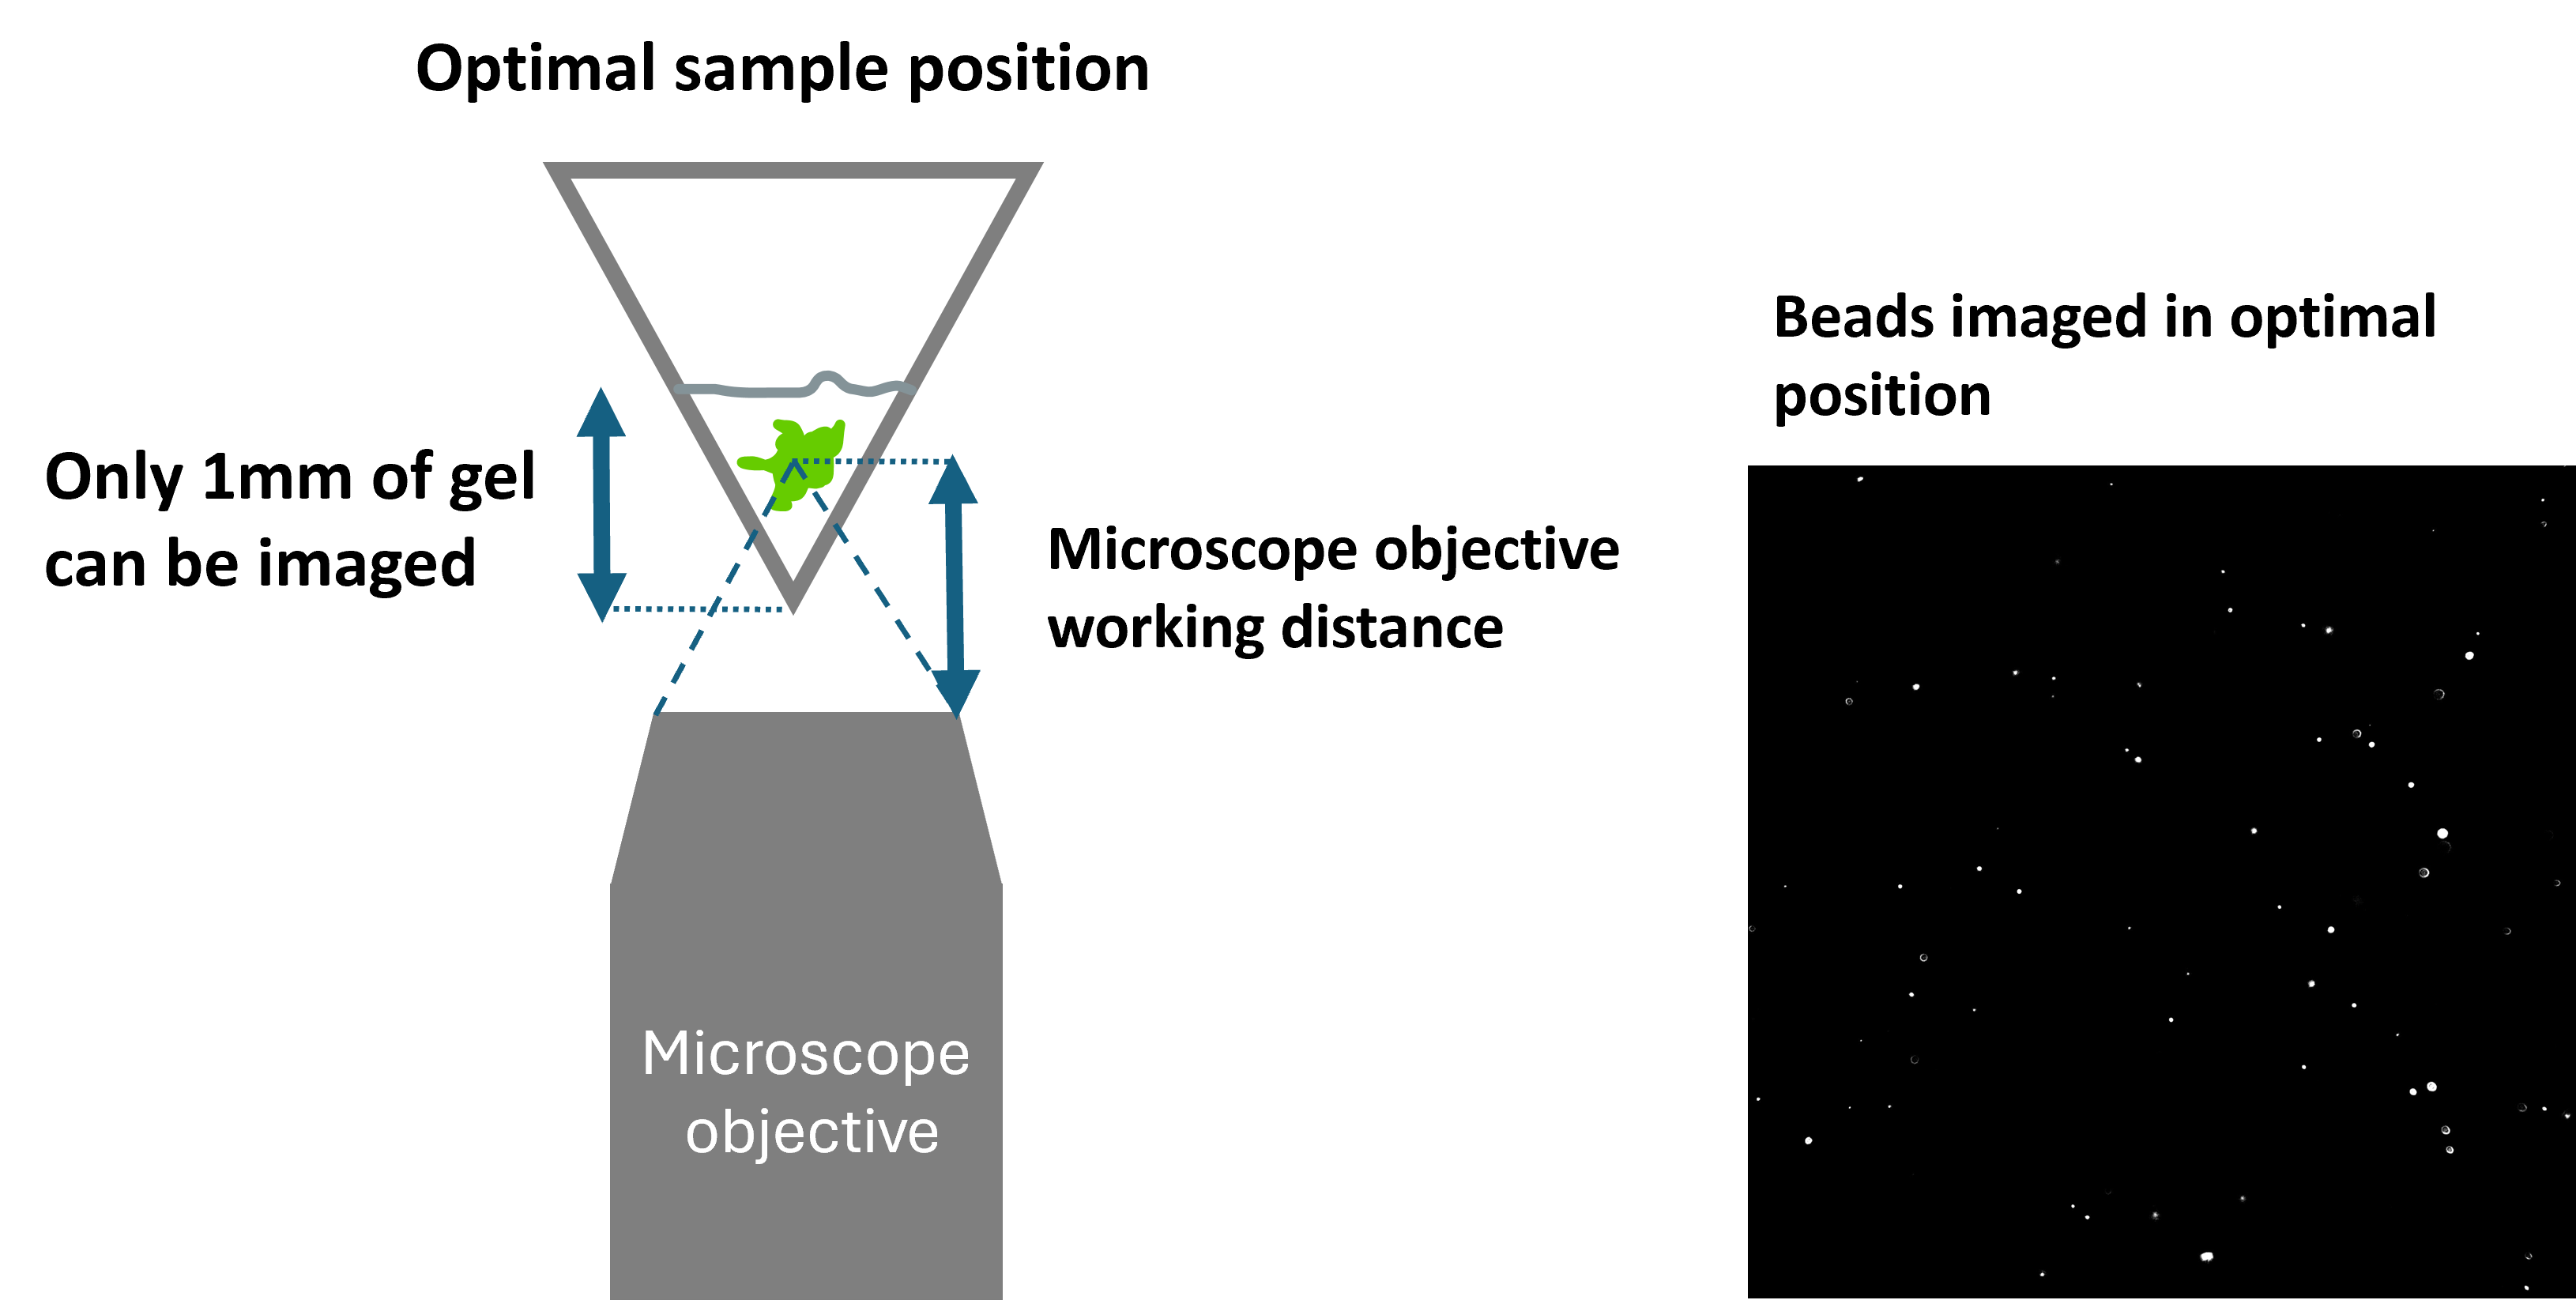
To acquire the best images from your sample, you need to look at areas that are in the middle of the dish, within the layer of gel that can be imaged. Only the lower 1mm layer of gel at the bottom of the cuvette can be imaged. If your sample is sitting above this, you will not be able to image it.
The detection objective is fixed, when you move the z stage your are moving the sample dish up and down. The biggest z-stack you can acquire is around 1mm, that is if you start below the dish and go as far as the working distance of the objective goes.
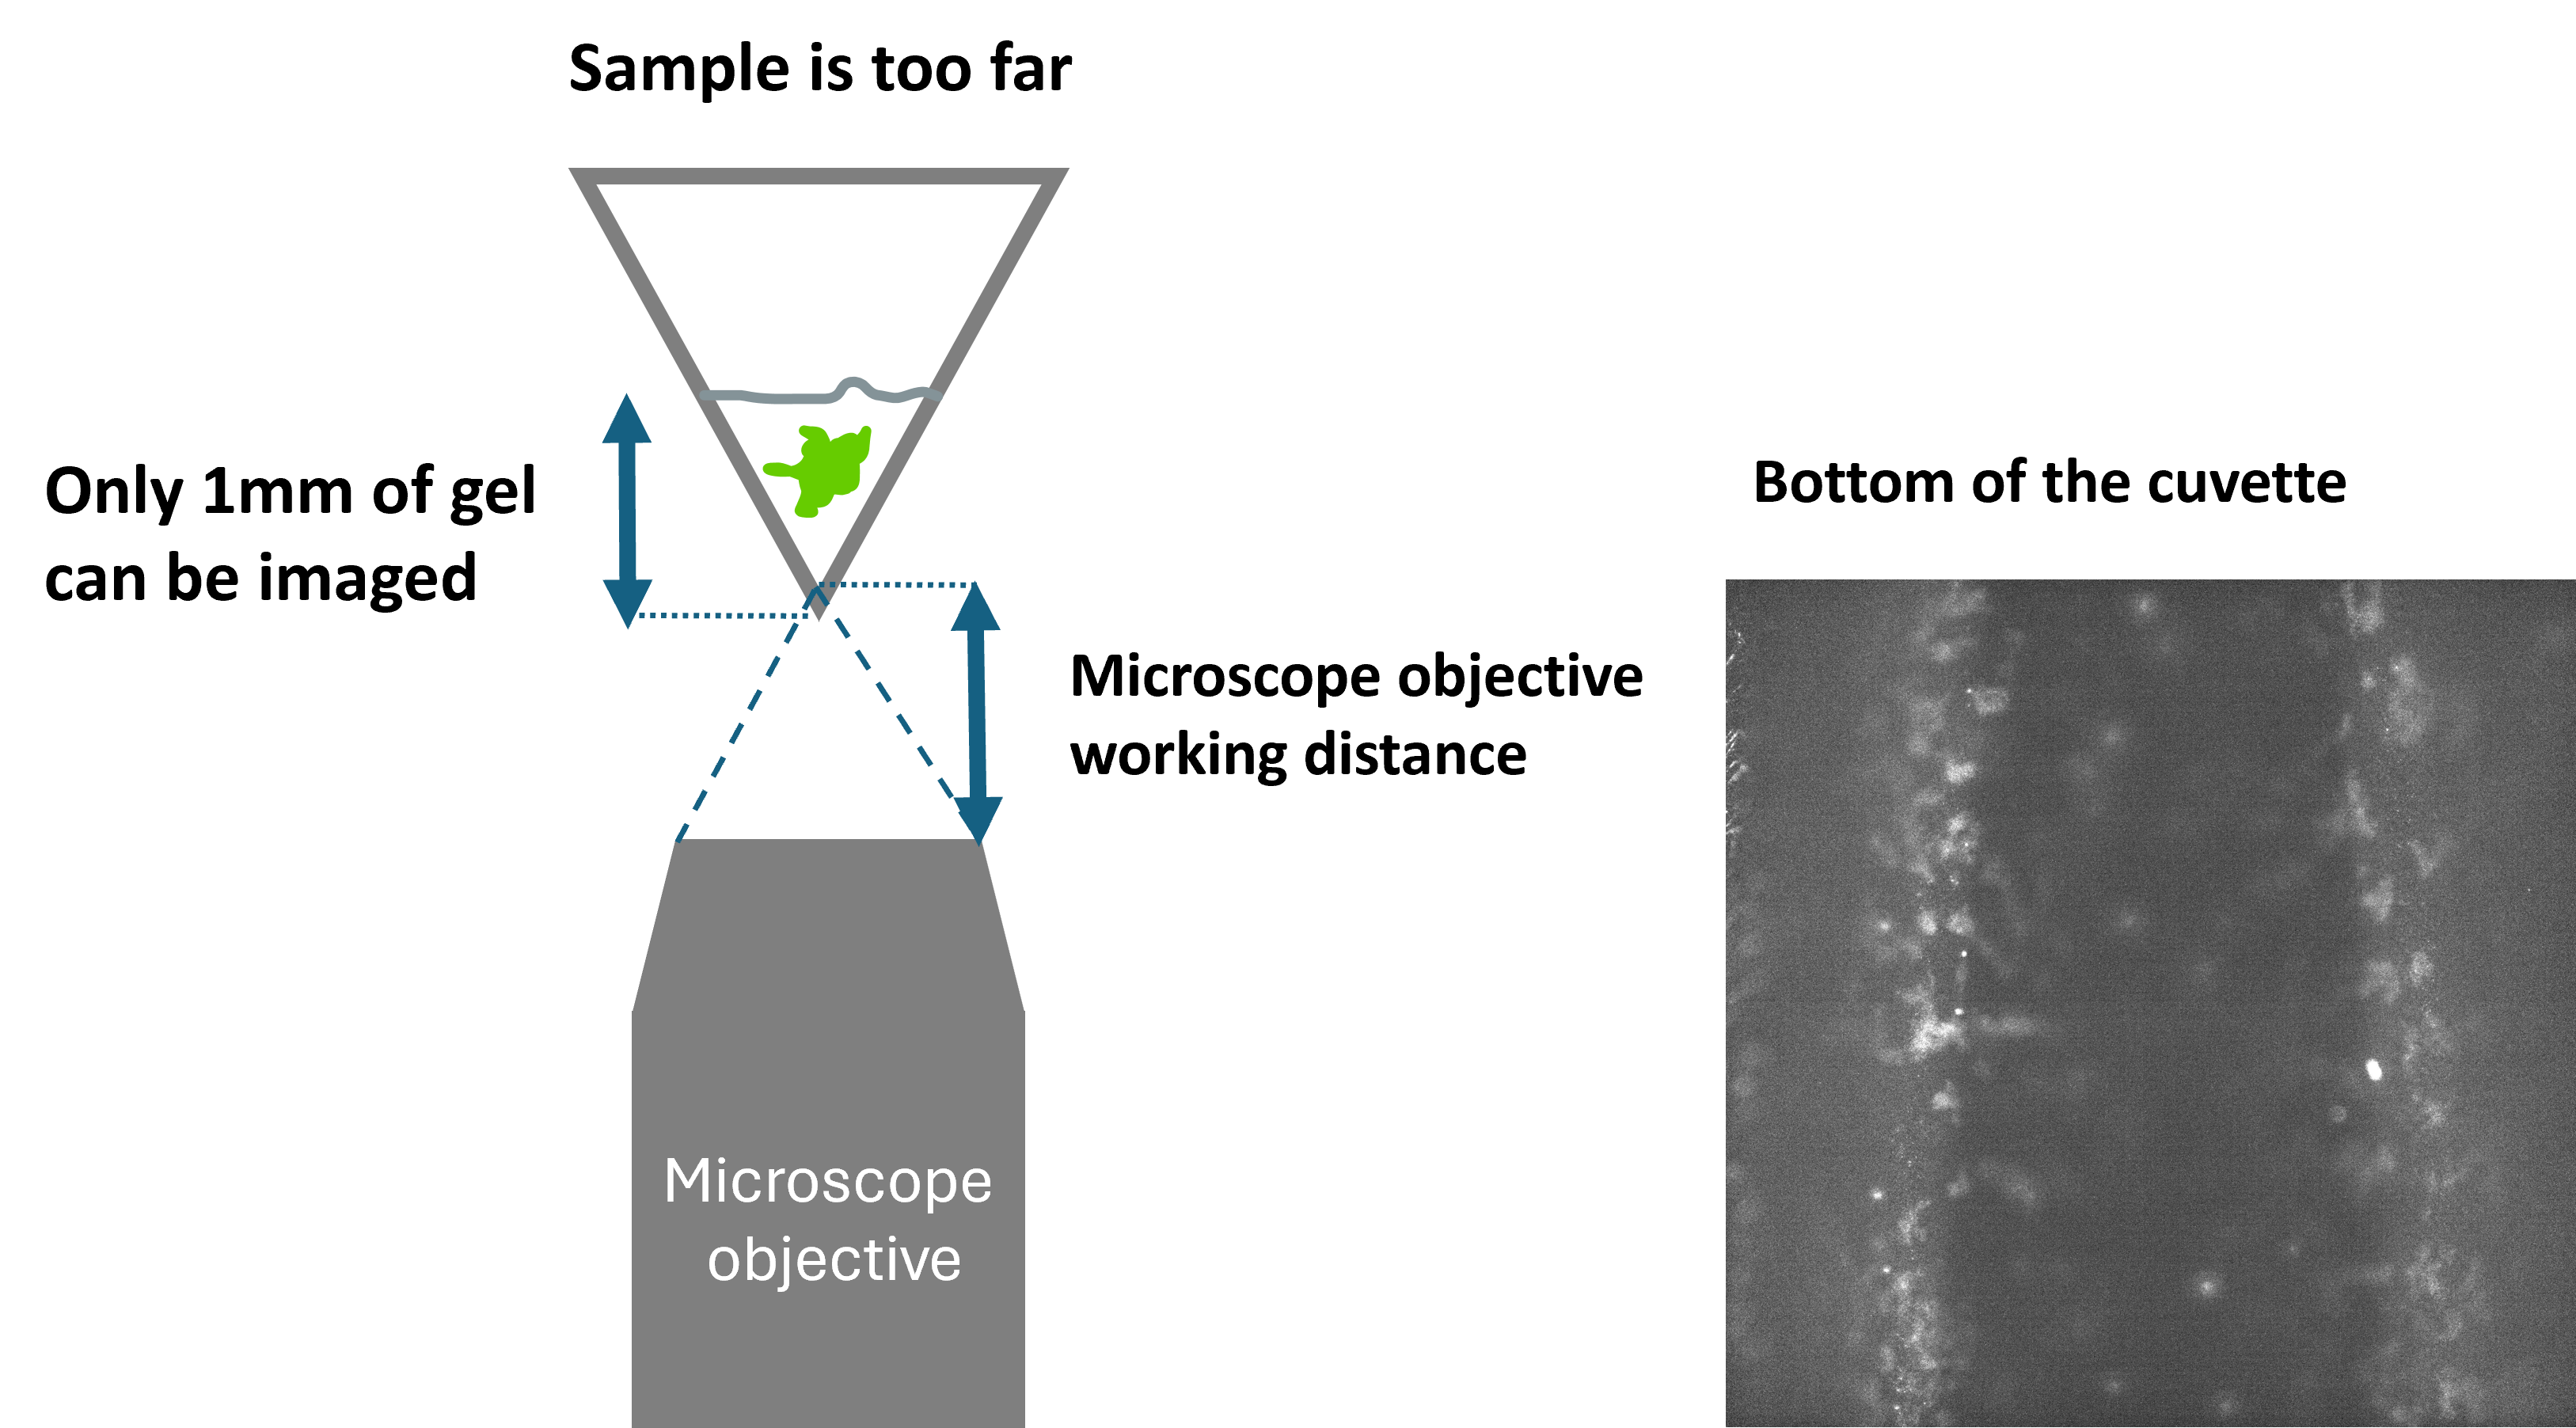
The working distance of the objective is what defines your imaging range. However, the images acquired at the limits of this range will not be ideal. If the dish is too high above the detection objective you will be looking at the bottom of the cuvette. If the sample dish is too close from the detection objective, you will be looking far into the gel and this will generate more aberrations.
If you are looking at the edges of the dish, you will also get more aberrations.
The following figures show how to best position the sample and the resulting images with a bead sample.
- Optimal sample position
- Sample is too close, more aberrations are present due to the thick layer of gel
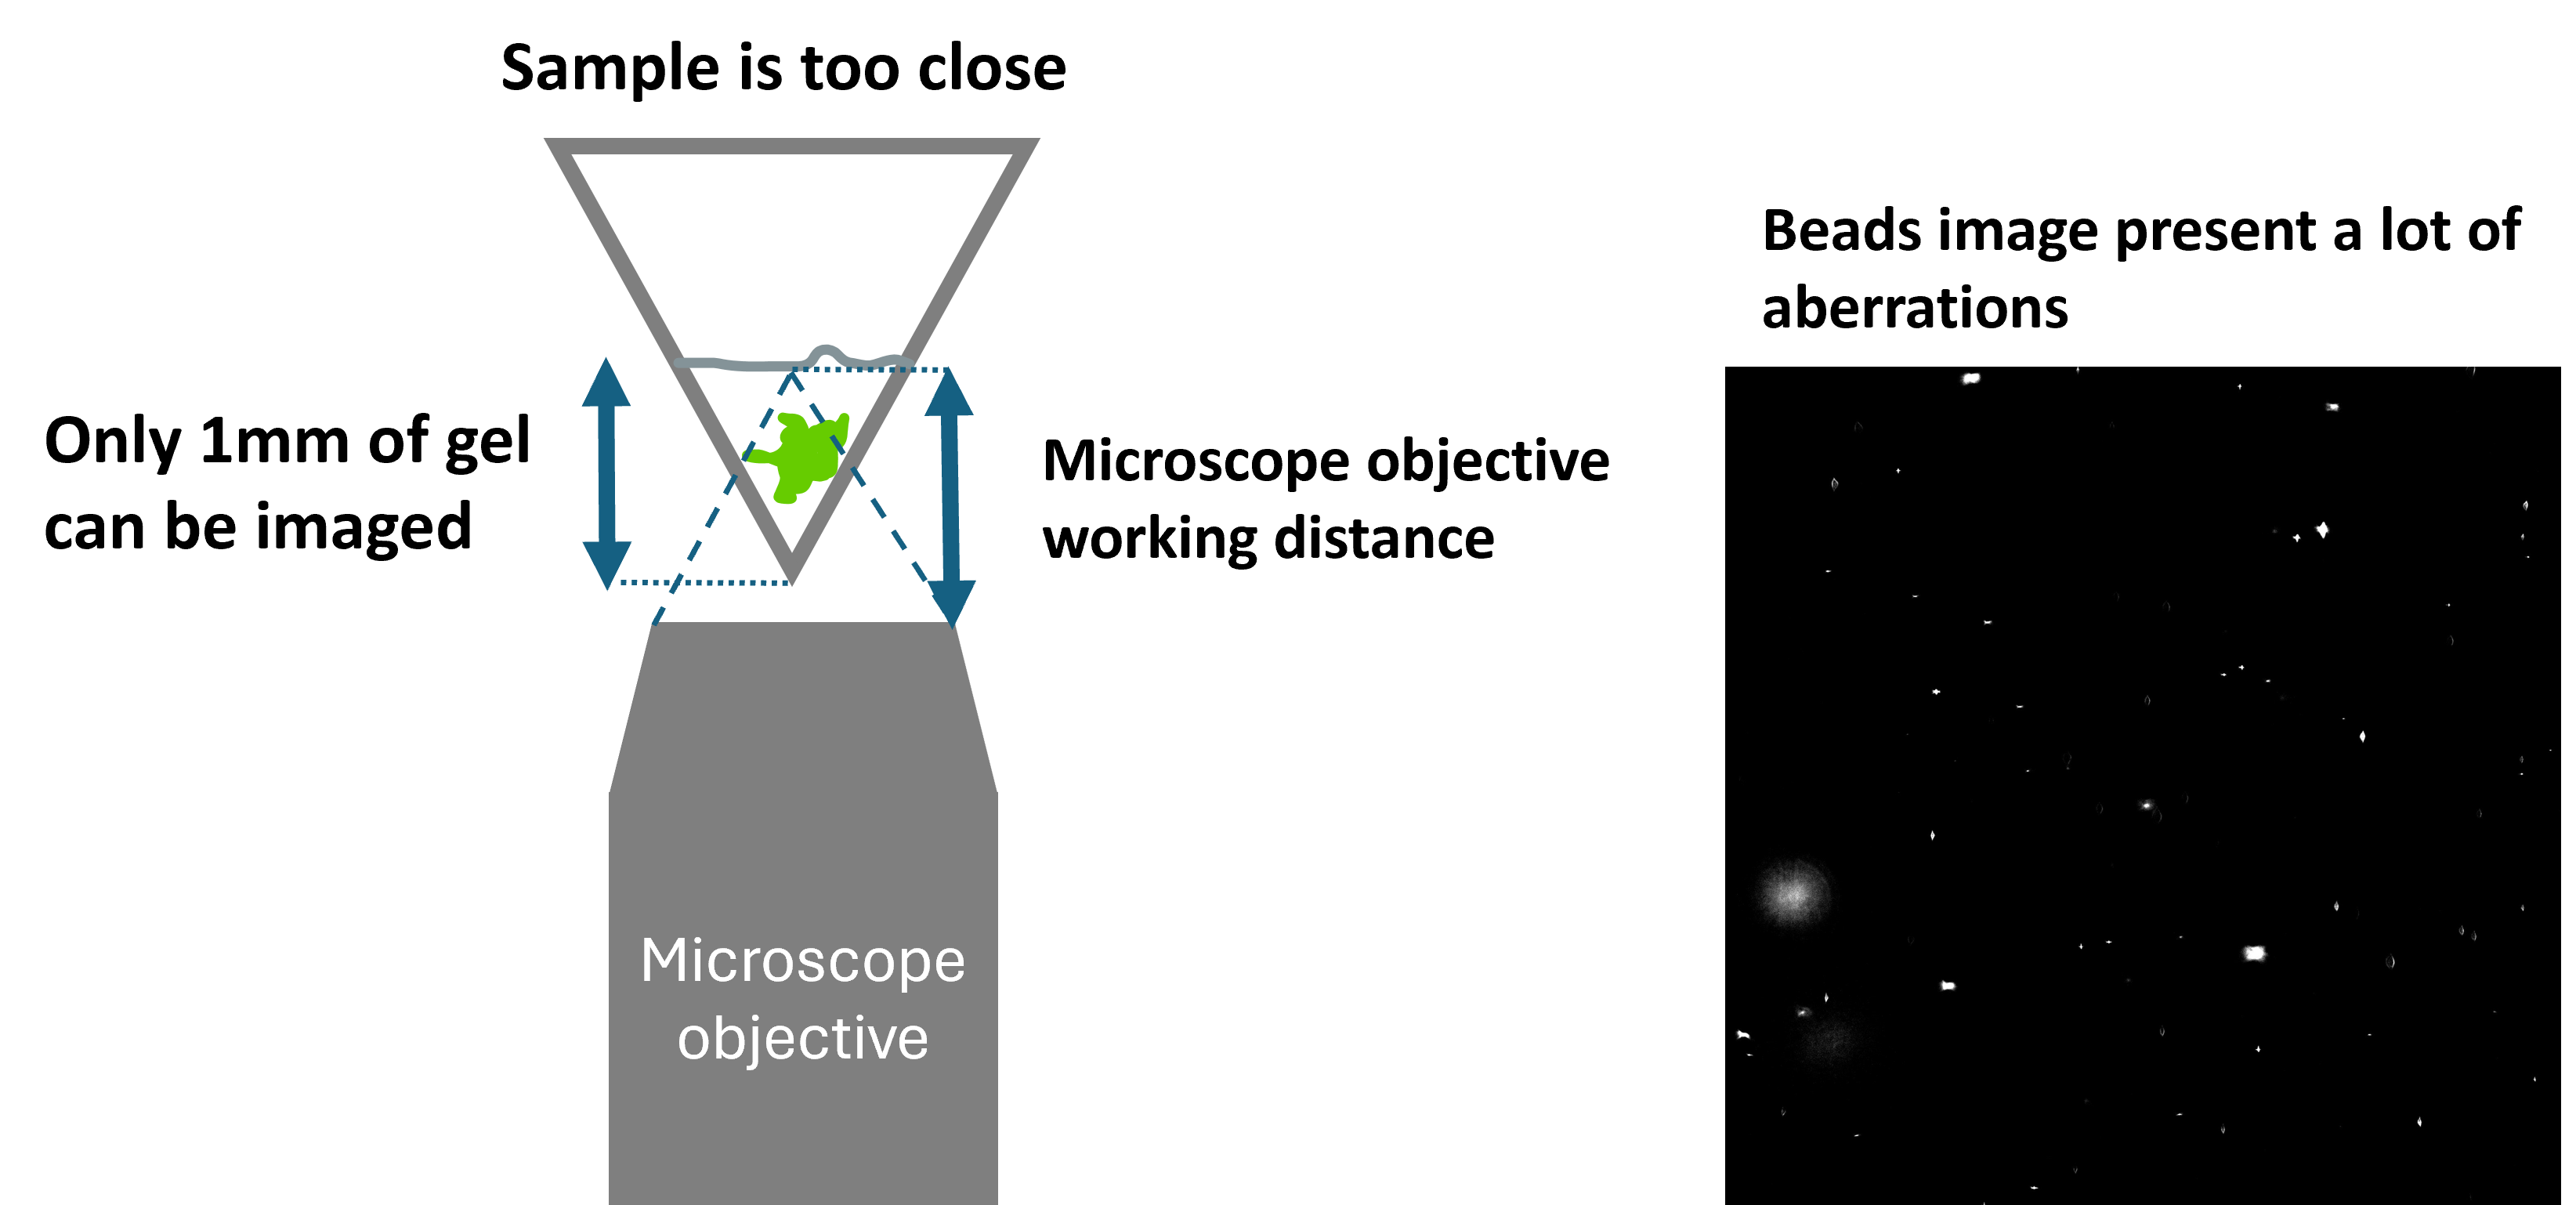
- Sample is too far, we look at the bottom of the dish
- Stage coupling to the correction ring to reduce spherical aberration
The LuxBundle software now has the option to perform stage coupling. We can use this feature to couple the z stage with the CR stage (Correction Ring) and optimize spherical aberration correction throughout the entire z-stack. This step should be done once at the working temperature after calibrating the system. We need to use the beads sample for this as beads are the most appropriate object to identify aberrations and correct for them.
Below are the steps to achieve ideal coupling, along with the values used to couple the Z stage and the CR stage at room temperature and 37C. The stage coupling will be discussing and practiced in your training but you can re-use the values presented in this wiki for room temperature or 37C when you introduce a new sample.
-
- Stage coupling panel in the Calibration tab:

- Once you have your beads in the FOV, select a Z position and manually adjust the CR until the beads look as sharp as possible and spherical aberration seems to be minimized. It is a good idea to go over the whole Z range and pick a position close to each extremity but not the last position you can possibly pick on each side.
- Stage coupling panel in the Calibration tab:


-
- Once the Z stage is coupled with the CR stage, click Add to couple your current Z position with your current CR position. This will be one end of your range.

-
- Then go to another position in Z and optimize the CR value to minimize spherical aberrations. Click Add stage positions to add the new values.

You now have 2 values for stage coupling and the CR stage will extrapolate values to best fit the entire Z range you selected. Below is an overview of the calibration panel with the stage coupling values set for room temperature.

-
- Back in the Dashboard, click Enable Stage Coupling to have the CR stage move along the Z stage when imaging

- Back in the Dashboard, click Enable Stage Coupling to have the CR stage move along the Z stage when imaging
-
- Values you can use for ROOM TEMPERATURE stage coupling (simply copy those values in the Calibration stage coupling set-up):
-
- Z = -2347 CR = 700
- Z = -3014 CR = 1405
-
- Values you can use for 37C TEMPERATURE stage coupling (simply copy those values in the Calibration stage coupling set-up):
-
- Z = -2347 CR = 600
- Z = -3014 CR = 1225
-
- Values you can use for ROOM TEMPERATURE stage coupling (simply copy those values in the Calibration stage coupling set-up):
- Further tips on how to use the correction ring:
- Find the center of your z-stack and look for circular features that appear to be in focus. If they have a little bit of a halo despite being the most in focus in this z-plane then try changing the correction ring to see if the halo disappears. If this is hard to see, try to get the best looking image of your sample in terms of sharpness.
- Go to the beginning of the z-stack and find a circular feature that is in focus. Try changing the CR value to see if it makes it better. Repeat at the end of the z-stack.
- To adjust the CR during an experiment you can make it change over the length of your z-stack after selecting the values that improve the image best at the beginning and the end of the stack. However, this is a little bit arbitrary and the CR value may not be optimal for each z-plane. In doubt, I recommend adjusting the CR value for the center plane of your z-stack and leaving it the same.